


Supply List:
- Scrapbook Paper
- Fabric
- Napkin
- Shipping Tags as base to Demo On- can easily find in Office Supply Stores or Amazon
- Saran Wrap or Plastic Wrap
- Parchment Paper
- Iron – no water
- Scissors
- Heat Resistant Mat
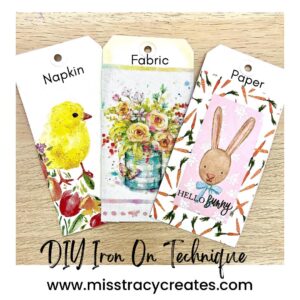
Ready to learn something new? This iron-on technique will appeal to every kind of maker – paper crafters, card makers, scrapbookers, napkin crafters, fabric crafters, and more! It will work for just about every material and every smooth surface. Today, I’ll be demoing this technique on some paper tags and will use lots of different materials to show you how it works. If you’re in a crafting rut, you have to give this quick and easy iron-on technique a try!
Learn How to Iron-On Different Materials
I like to call this a hot technique because we will be using an iron. You can use any iron that you have, but do not use water. You need a hot, dry iron! Make sure you are crafting on a flat heat-resistant surface. You will also need scissors, parchment paper, and plastic wrap.
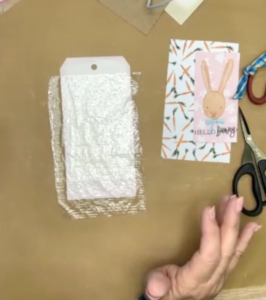
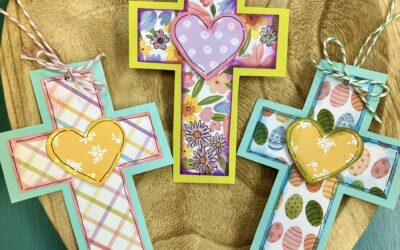
I have some cute Easter paper – I have a piece of paper with a carrot print and a piece of paper with a bunny. Grab a piece of plastic wrap and trim it to the size of your surface.
Place your paper over top. Then, place a piece of parchment paper on top of that. (You don’t want to ever put your iron directly onto your paper, napkin, fabric, or whatever you are applying to your surface.) Now, take your iron and gently rub it over your paper.
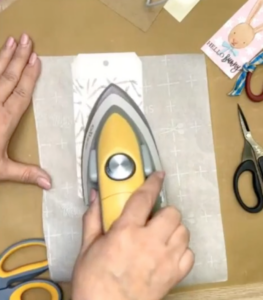
Your plastic wrap will melt and adhere the paper to your surface!
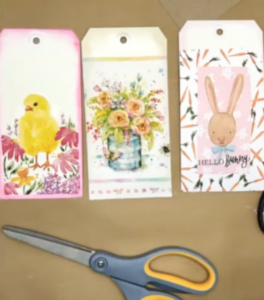
You can use this same technique for any combination of materials – fabric to paper, napkin to paper, fabric to fabric, napkin to wood, etc.
Join my Napkin Club or The Fabric Fan Club to learn even more tips and tricks like this! FYI – I will be doing an even more in-depth training for my club members where I show you how to use this iron-on method with smaller cuts, like collaging.


0 Comments